I wanted a small 90s phone booth on my desk. The hexagonal kind, with the “TELEFON” sign on top. So I designed one, printed it and put it together. The whole process fits in one reel:
01 / Design
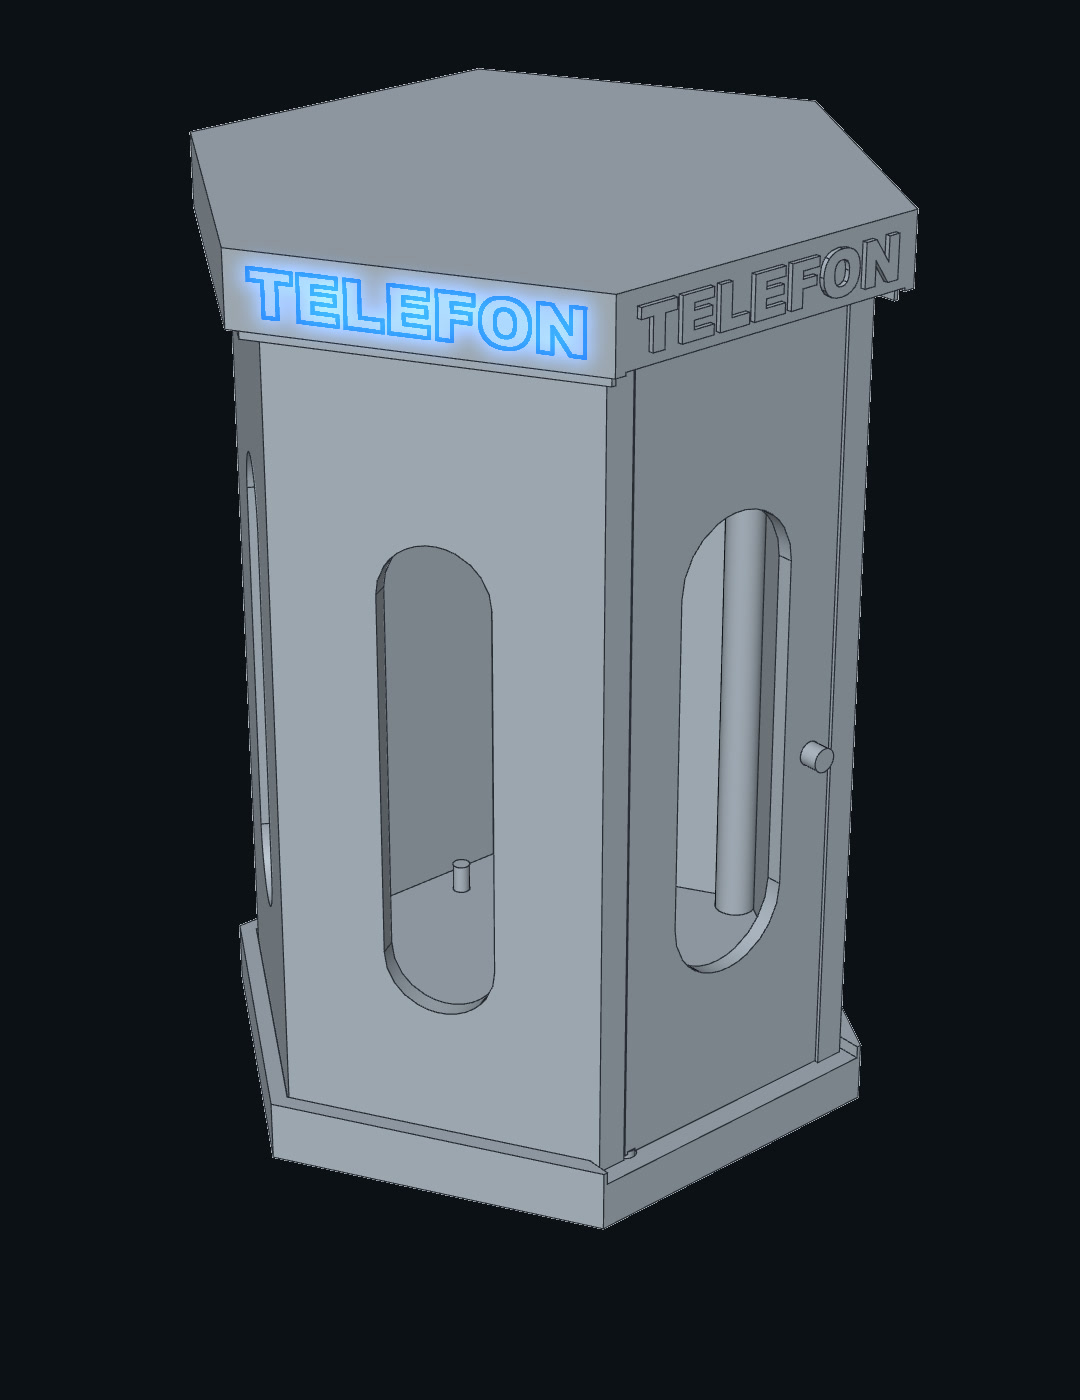
Everything was modelled in SolidCraft. It starts with a hexagon sketch for the base, then the walls, the roof and a rim on both ends. The window openings are one cut body, patterned around the booth and mirrored. The door is its own body with a window, a knob and two hinge pins, so it can actually open.
The “TELEFON” letters are sketched on three sides of the roof and extruded by 0.8 mm. In the end the timeline has 77 active features. I designed it at full size first and scaled the whole thing down to 60 % for printing, which keeps it at about 9 cm high.
02 / Printing
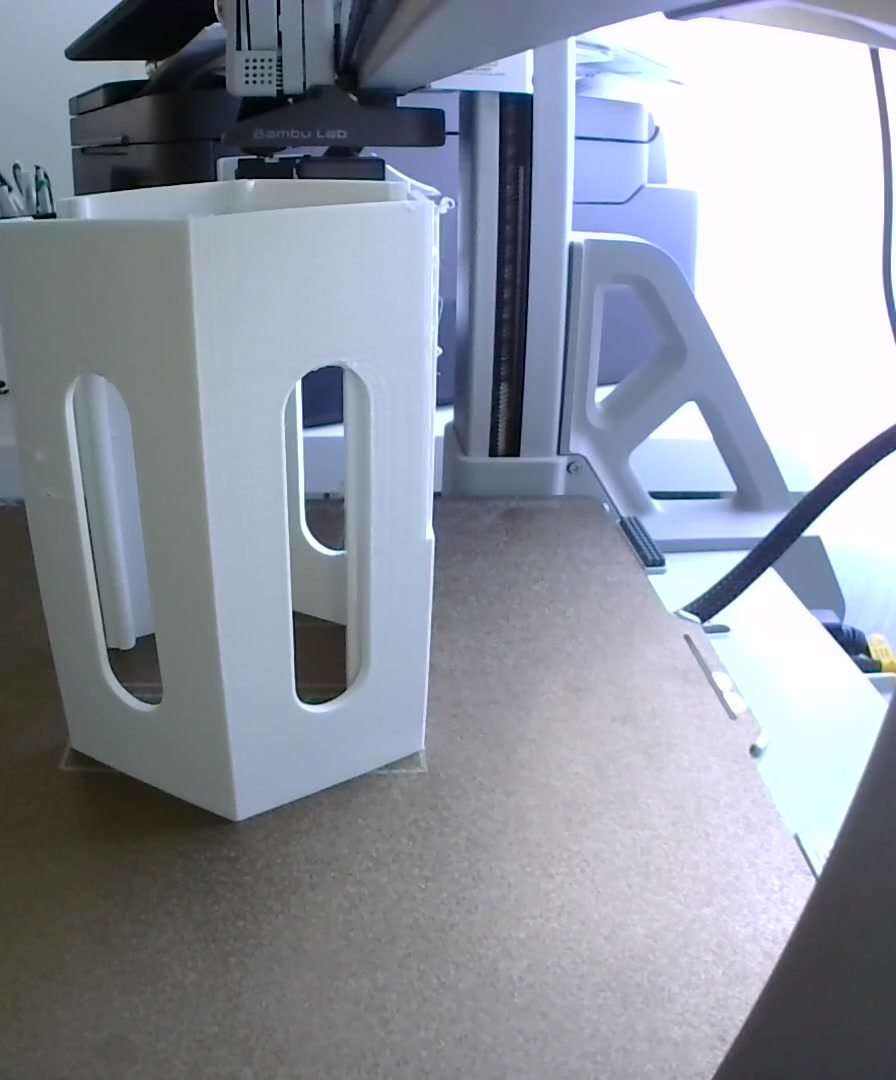
The model is split into separate parts: base, walls, roof and door. I printed them on my Bambu Lab printer, the timelapses are in the video.
03 / Assembly
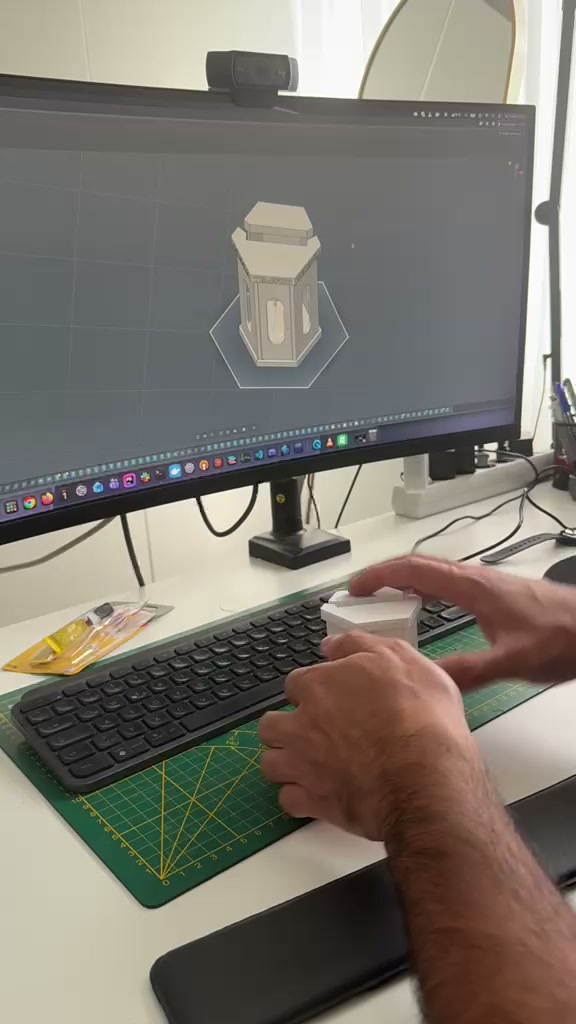
The parts are held together with 3 mm pins that go into 3.4 mm holes, six on the base and four on top, so there is a bit of play for printer tolerance. The door sits on its hinge pins between the base and the roof.
Music: ZephiraMusic / Pixabay
#3dprinting #3dprinted #cad #maker #bambulab #productdesign #90s #diy
Views: 0