
SPX is a PHP Extension for Profiling, also open source, very simple, multimetric capable and with out-of-box web UI for listing, sorting and report details.
For installation, we need to build our extension. We can of course put the building phases directly into our Dockerfile, but I want to know, what things (extension file, webUI Files and configuration changes) need to come through the extension. For this reason, I make a seperate build process in my Dockerfile and copy everything this extension needs.
I follow the steps from official documentation (Timestamp: 20.05.2022), please check, if new or old steps were published, after this blog article)
FROM ubuntu:20.04 as spx_builder
# We declare, that we need using zero interaction  while installation or upgrading system via apt.
ARG DEBIAN_FRONTEND="noninteractive"

# Default Timezone declartion, if your system in another timezone placed, update this
ENV TZ="Europe/Berlin"

# Install the php-dev, git and extension requirements for the extension building steps
RUN apt-get -y update && apt-get install -y git zlib1g-dev software-properties-common
RUN add-apt-repository ppa:ondrej/php
RUN apt-get update && apt-get install -y php8.0-dev

# Create tmp directory for git cloning and build
RUN mkdir /tmp/php-spx
WORKDIR /tmp
RUN git clone https://github.com/NoiseByNorthwest/php-spx.git /tmp/php-spx
RUN cd php-spx && git checkout release/latest && phpize && ./configure && make && make install

# Main PHP image with Apache
FROM php:8.0-apache

# Copy builded extension and webui files in to php image
COPY --from=spx_builder /tmp/php-spx/assets /usr/local/share/misc/php-spx/assets
COPY --from=spx_builder /tmp/php-spx/modules/spx.so /usr/local/lib/php/extensions/no-debug-non-zts-20190902

# Create ini file for extension
RUN echo 'extension=spx' > /usr/local/etc/php/conf.d/docker-php-ext-spx.ini
# Config for extension
RUN echo 'spx.http_enabled=1 \n\
spx.http_ui_assets_dir="/usr/local/share/misc/php-spx/assets/web-ui" \n\
spx.http_key="dev" \n\
spx.http_ip_whitelist="*" \n\
spx.http_trusted_proxies="*"' >> /usr/local/etc/php/php.ini
For testing, we can use the docker-compose for simple exection..
docker-compose.yaml
version: '2'
services:
  php-apache-environment:
    container_name: php-apache
    build:
      context: .
      dockerfile: ./Dockerfile
    volumes:
      - ./src:/var/www/html/
    ports:
      - "3333:80"
docker-compose up -d
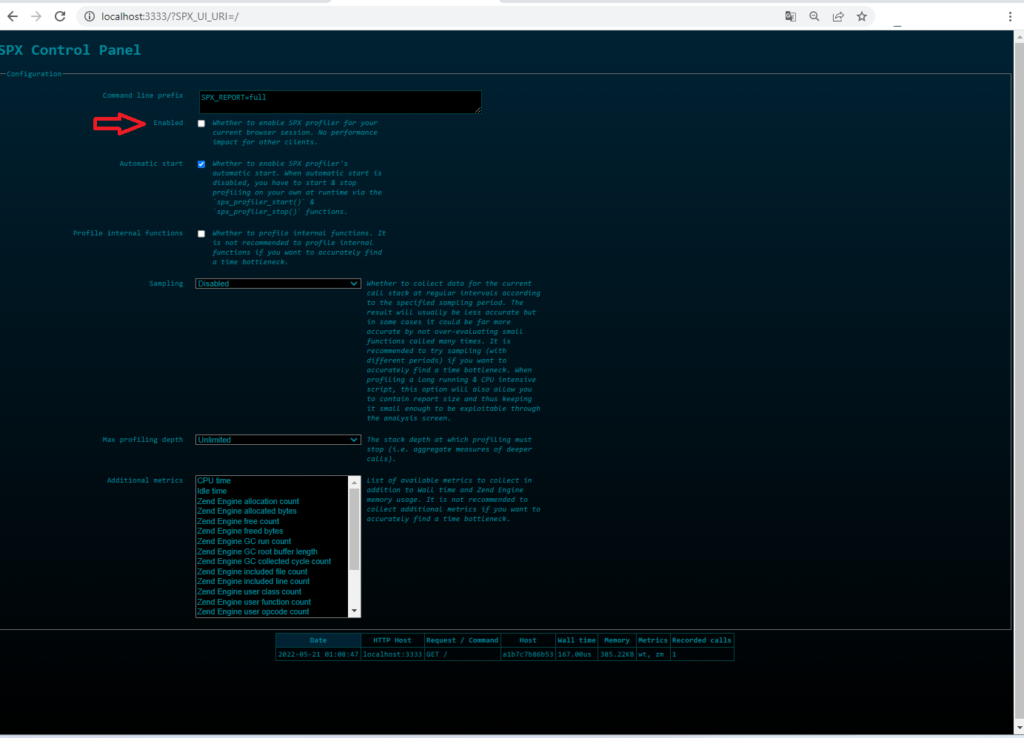
and browse the localhost:3333, here is my result. Directly we can check the Enabled checkbox, it means, all incoming request will be analyzed and listed under control panel settings.
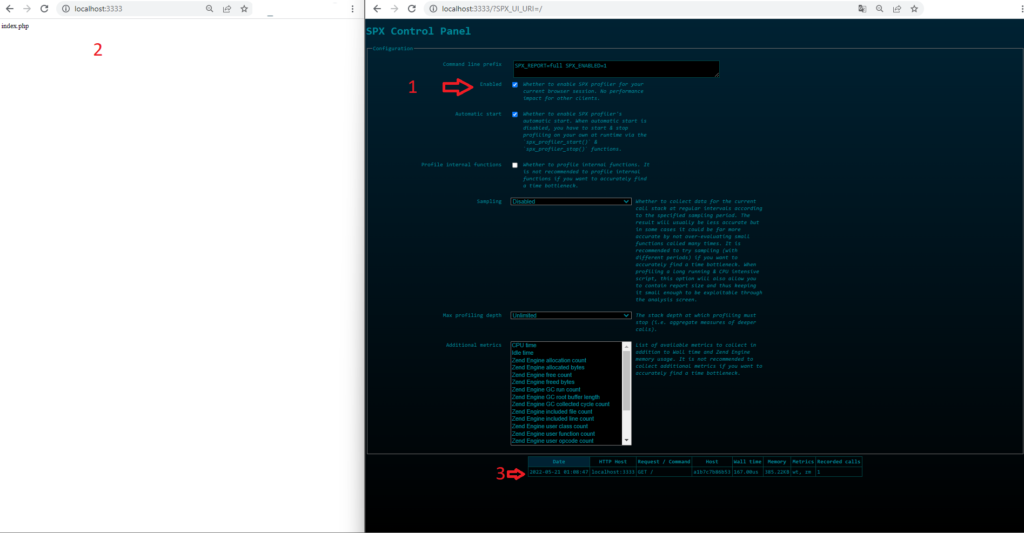
after enabling, I visit the index page via a new tab without any get parameters or anything.
After that, I refresh the control page, and i see the link the profiling detail from my request in index.php (3)
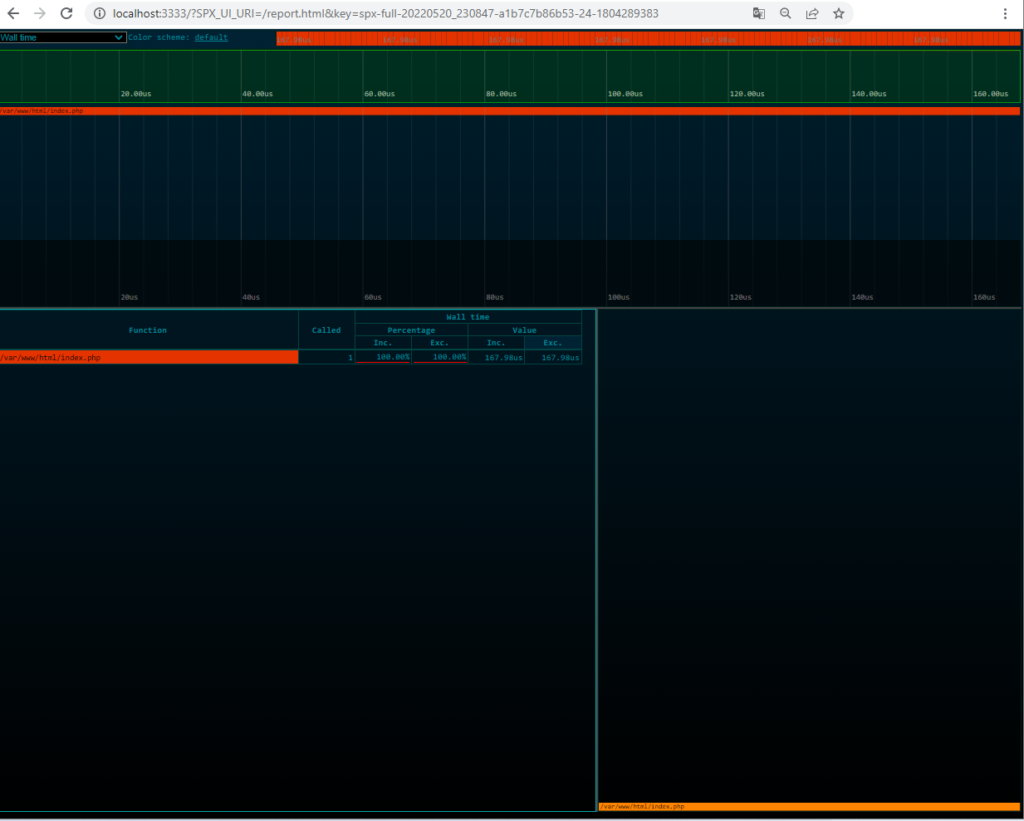
And… Here is the profiling detail page
Views: 115